Plenty of people start by scanning their own family photos, and it works well for a shoebox of ordinary snapshots. This guide shows how to get good results at home, where the limits are and when it makes sense to hand the job to someone else.
What you need
A flatbed scanner is the best tool for prints. It holds the photo flat, lights it evenly and gives you a file with real detail. Phone scanning apps are convenient, but they struggle with glare, uneven light and slightly bent edges, so use them for quick copies rather than for archive files. You also need a clean microfibre cloth, a soft brush or a hand blower for dust, and a folder on your computer with room to spare. A 4 x 6 print scanned at 600 DPI makes a file of roughly 25 MB as an uncompressed TIFF, so a collection of 500 prints takes about 13 GB.
Step by step
- Clean the glass. Wipe the scanner bed with a dry microfibre cloth. Check it against a dark surface for dust. Every speck will show.
- Clean the print. Use a soft brush or a blower to lift dust off the surface. Never wipe a print with a damp cloth.
- Set the resolution. For an ordinary snapshot, 600 DPI is a safe choice. For a small print or one you may enlarge, use 1,200 DPI. The guide on choosing a scanning resolution explains why.
- Scan the full area. Turn off automatic cropping and automatic enhancement. You can crop later. A scan that includes the edges also shows how the print looked.
- Save a master copy. Use TIFF if you can. Save a JPEG copy for sharing.
- Name the file at once. Use a pattern such as
1985-summer-lake-03. If you wait, you will forget who is in the picture. - Write notes. Put the names, the place and the year in a simple spreadsheet or in the file name. The person who remembers these details may not be around forever.
Mistakes to avoid
- Scanning prints in plastic sleeves. The plastic adds glare and lowers the quality. Take them out gently, or leave them for a professional if they stick.
- Peeling photos from album pages. Magnetic and sticky albums can fuse to the print. Peeling tears the surface. Scan the whole page, or ask for help.
- Pressing hard on the lid. A fragile print can crack under pressure. Let the lid rest.
- Scanning in a hurry. Most mistakes come from rushing, so do a small batch and look at the results at full size before you do the rest.
When it is time to ask a professional
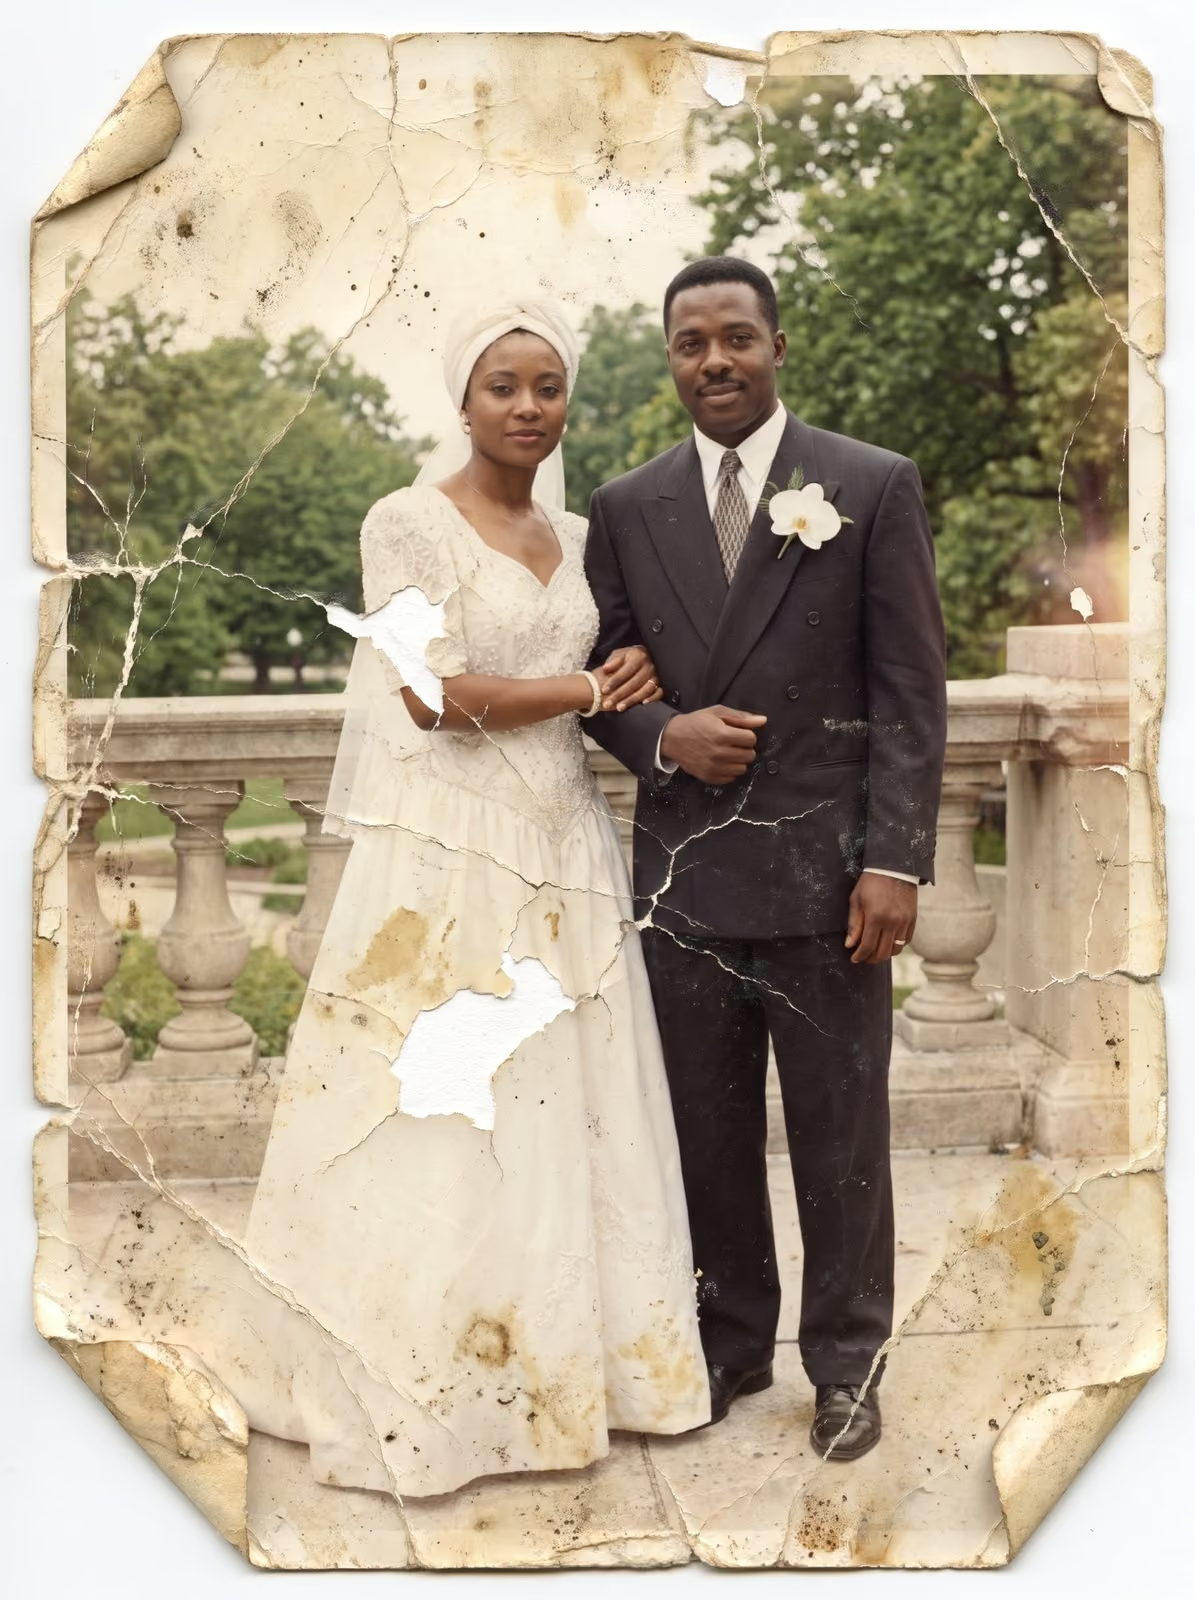
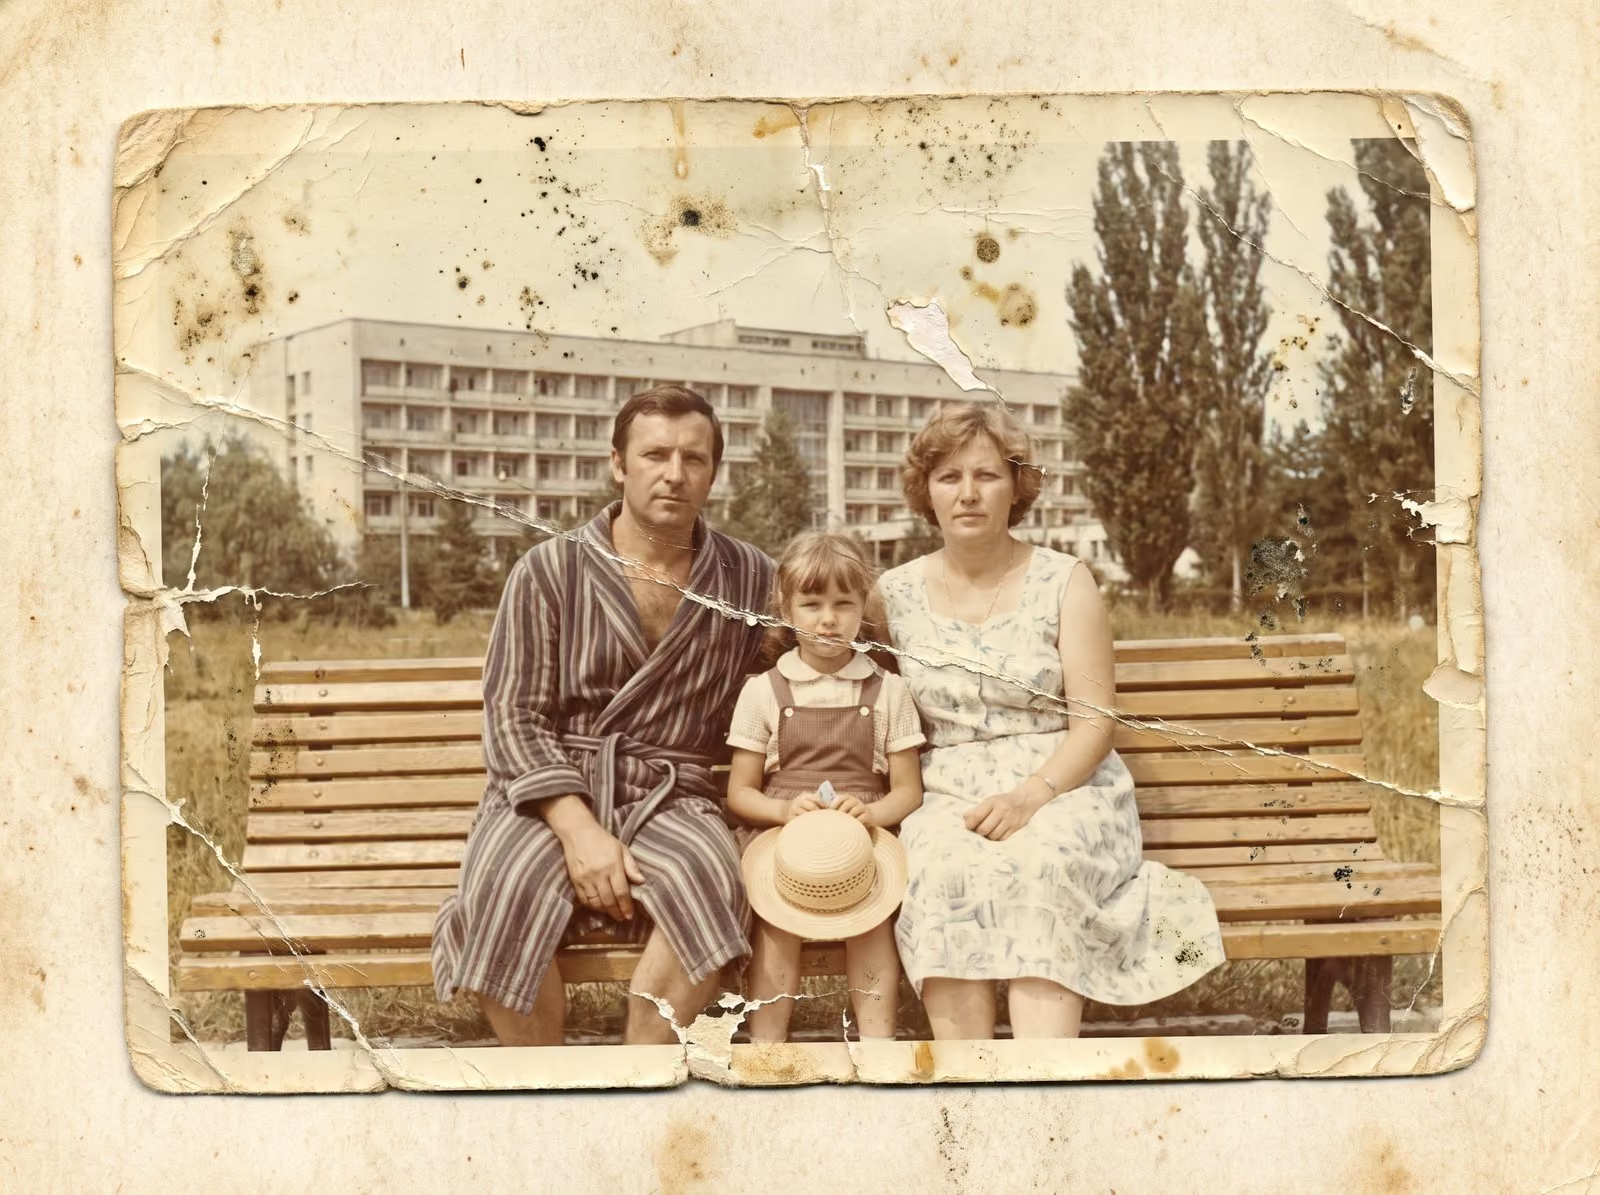
Hire help when you have hundreds of prints and no spare weekends, when the prints are fragile or stuck in albums, when you plan to restore them afterwards, or when the photographs cannot be replaced. A professional scan is also the best starting point for restoration, because every detail in the file is worth keeping. If the prints are damaged, scanning them carefully is the first step, and photo restoration is the second.
A realistic plan for a weekend
Scanning at home is slow, and that is the part people underestimate. Allow about a minute and a half for each print, including cleaning, placing, scanning, checking and naming. A box of 200 prints is therefore a long afternoon, and 1,000 prints is several full days. Work in short sessions of an hour or two, take a break between batches and stop when you notice yourself rushing. Check one scan at full size after every batch, because a problem such as a streak or a dusty patch is much cheaper to fix after twenty prints than after two hundred.
Related guides
Read how to prepare photos and film for scanning before you start. If you have film or slides, see the 35 mm film scanning guide and the slide scanning guide. To keep the finished files safe, read how to preserve a family photo archive.
Let me scan them for you
I scan prints in Smoky Lake and return the originals to you with the digital files. Tell me how many prints you have and what shape they are in, and I reply with a plan, a quote and a turnaround. You can request a scanning quote here, read about print scanning, or call, email or message me using the details at the bottom of this page.