DPI means dots per inch: how many pixels the scanner records for each inch of the original. More pixels capture more detail, but only up to a point. Past that point you get bigger files and no better picture.
The one calculation that matters
Pixels = size in inches × DPI.
A 4 × 6 inch print scanned at 600 DPI becomes 2,400 × 3,600 pixels, about 8.6 megapixels. That is enough to print at 8 × 12 inches at 300 pixels per inch, which is the usual standard for a sharp print.
So the real question is not “what is the best DPI?” but “how large will I print this, and will I restore it?”
Starting points for prints
- Viewing on a screen or sharing online: 300 DPI is plenty for a print the size of a normal snapshot.
- Keeping an archive copy or printing the same size: 600 DPI gives you room to crop and a clean file to work from.
- Small prints such as wallet or passport photos, or any print you may enlarge a lot: 1,200 DPI.
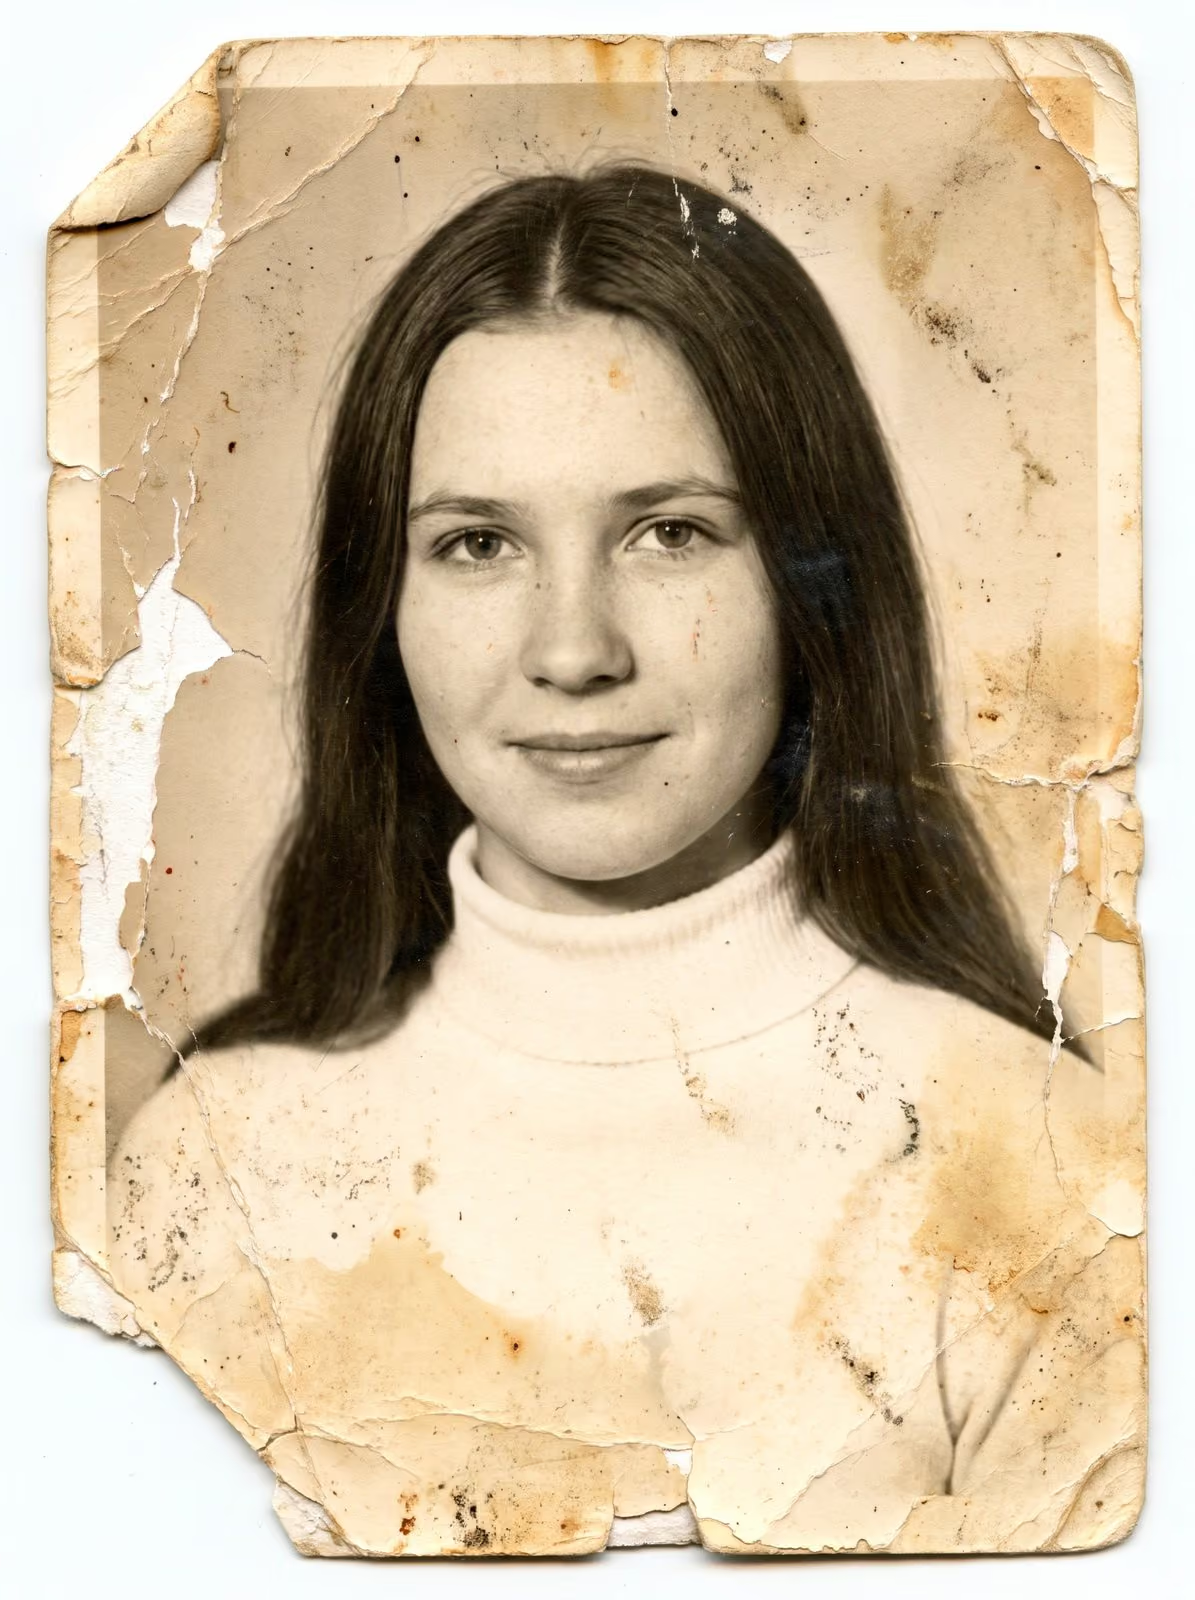
- Prints you plan to restore: 600 DPI at least, and more for small or faded originals. Restoration repairs detail you can see, so a richer scan gives me more to work with.
Film and slides
A 35 mm frame is only about 1.4 × 0.9 inches, so it needs a much higher DPI than a print. Resolutions of 3,000 to 4,000 DPI are common. At 4,000 DPI a 35 mm frame becomes roughly 5,600 × 3,700 pixels. Medium and large formats need less DPI for the same pixel count because the film is bigger.
When more does not help
Every original has a limit: the grain of the print, the sharpness of the lens that took the picture, the softness of the paper. Scanning a blurry 4 × 6 print at 4,800 DPI produces a large, blurry file. If the original is soft, choose the DPI that preserves what it holds and stop there.
File format
Keep one uncompressed or lightly compressed master (TIFF is the usual choice) and make smaller JPEG copies for sharing. A JPEG saved again and again loses quality every time.
What I do
When you ask for a print scanning quote, I agree the resolution with you based on the originals and what you want to do with them. If you cannot decide, tell me the largest size you might print and I suggest a number.
Common mistakes
- Scanning everything at the highest setting. A 9,600 DPI scan of a 4 x 6 print fills a hard drive and shows no more detail than 1,200 DPI. Match the setting to the original.
- Scanning dusty glass. Every speck on the scanner bed becomes a mark on every image. Wipe the glass with a clean microfibre cloth and check it between batches.
- Letting the scanner auto-crop and auto-fix. Automatic cropping can cut off the white border and the edges of the picture, and automatic colour fixes can push a faded print toward the wrong colours. Scan the full area and decide later.
- Saving only as JPEG. The first save is fine. Opening and saving it again and again is what wears quality away. Keep a master copy.
- Not naming files. A folder of 400 files called
scan0001is hard to use. Name files by year, event and number, for example1987-wedding-012.
A simple way to decide
Ask three questions. How big is the original? How large will you print it? Is it damaged? If the original is a normal snapshot, you will only view it on a screen, and it is in good condition, 300 to 600 DPI is enough. If you may enlarge it, or if it is small, faded or torn, go higher, and keep the master file untouched.
Related guides
If you want to try scanning yourself first, read how to scan old photos at home. To get your collection ready, see how to prepare photos and film for scanning. For film, read the 35 mm film scanning guide.
Want it done properly?
If you have more than a handful of prints, or originals you cannot afford to damage, send me a message. Tell me how many prints you have, what size they are and what you plan to do with the scans. I reply with a resolution recommendation, a quote and a turnaround. You can request a scanning quote here, or call or email me using the details at the bottom of this page.