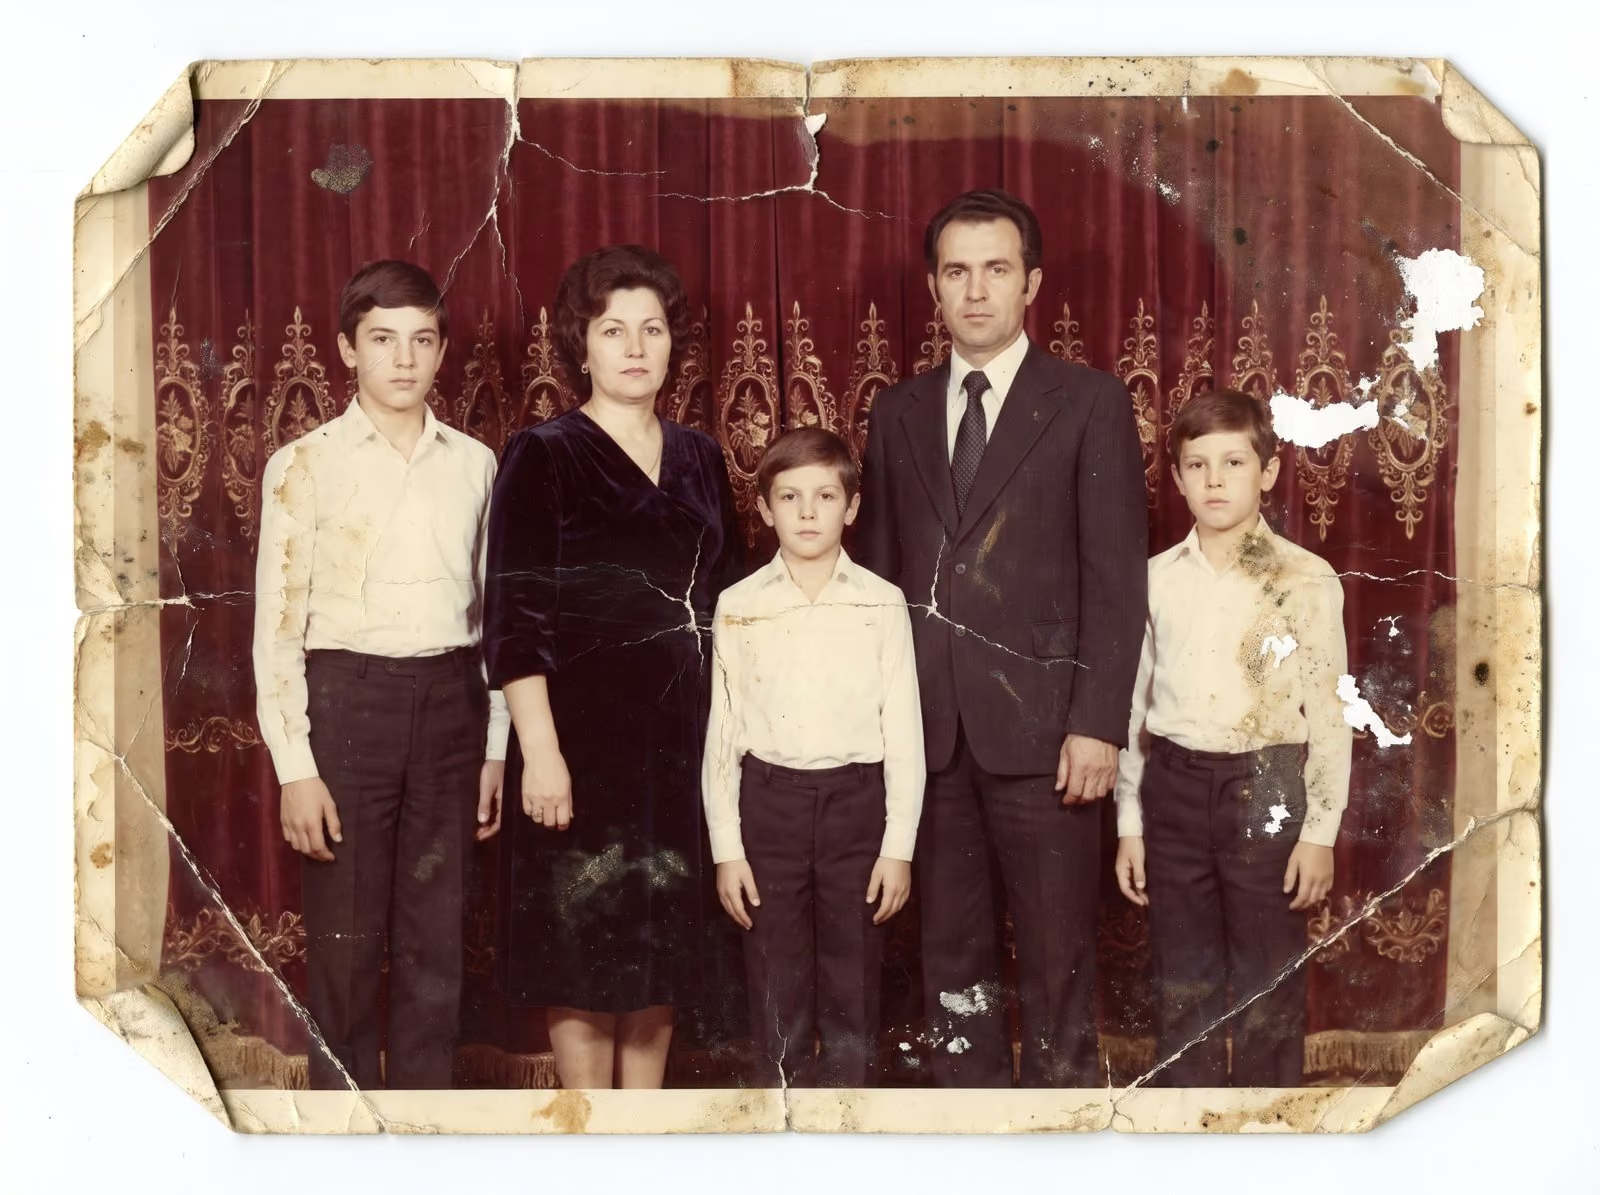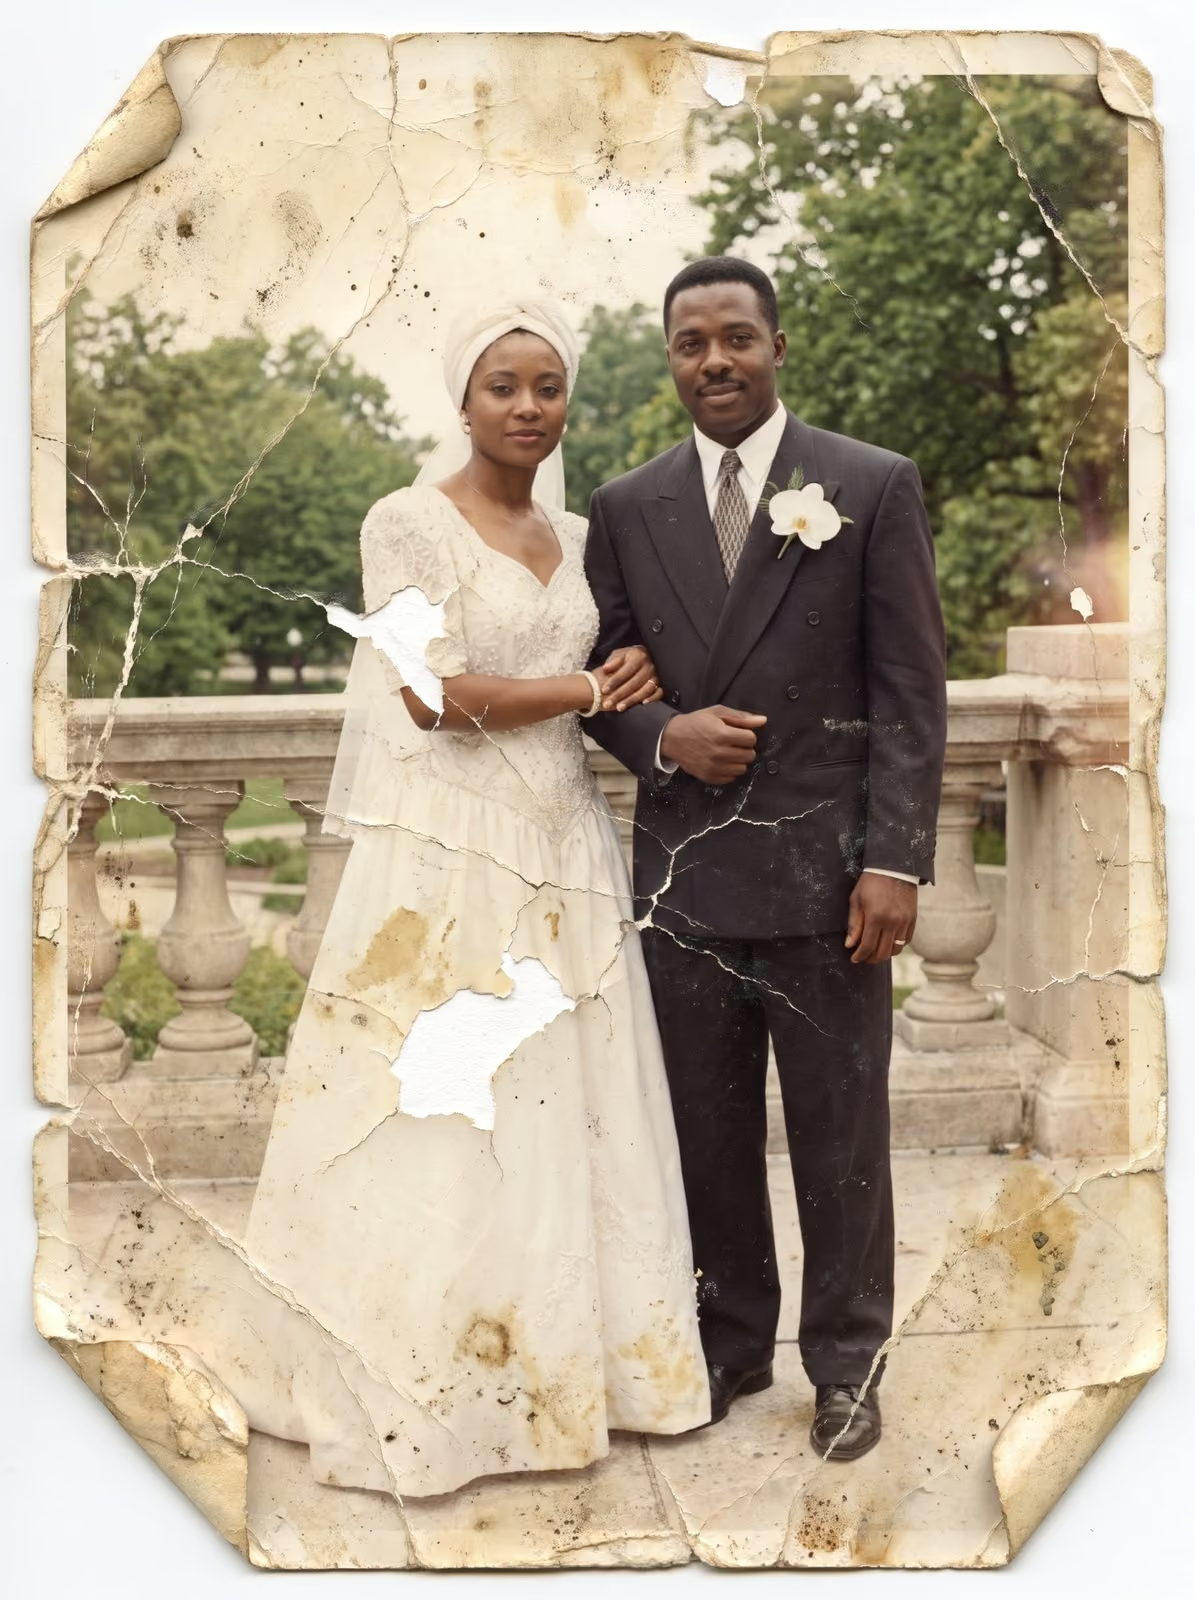
When a photograph is damaged, the first hour matters. Many prints that could have been restored are made worse by well-meant attempts to fix them. This guide explains what to do, and what to avoid, for the most common kinds of damage. If the photographs are rare, valuable or very fragile, speak to a professional conservator first.
The rules that apply to everything
Wash and dry your hands before you touch anything, and hold photographs by the edges. Work on a clean, flat, dry surface. Do not use tape, glue, paper clips, staples or rubber bands. Do not write on the back with a pen. Do not try to clean the surface with anything wet unless the instructions below say so. Take photos of the damage on your phone before you do anything, so that you have a record.
Wet photographs
Water damage is urgent, because wet prints can stick to each other and to what they lie on. Do not let them dry in a pile. If prints are stuck together, do not pull them apart when dry. If they are wet, gently separate them under clean, cool water, holding them by the edges, and do not rub the surface. Lay them face up on clean blotting paper, paper towel or a clean cotton cloth, away from sun and heat, and let them air dry. If you cannot deal with them in a day or two, put them in a bag and ask a conservator whether freezing is a good choice for your collection.
Mouldy photographs
Mould is a health risk as well as a risk to the picture. Wear a mask and gloves, work outside or near an open window, and keep mouldy items away from the others. Do not wipe them. Let them dry in a place with moving air and no direct sun, and brush loose spores away with a soft brush if you must. Seal them in a bag until you can get advice. Mould needs damp to grow, so store anything you have saved in a dry place afterwards.
Torn and creased photographs
Do not use tape. It leaves a stain that is hard to remove and can ruin the picture. Leave the pieces as they are, place them on a sheet of paper, and slide them into a clean sleeve or a folded sheet. Do not try to flatten a crease by force or with an iron. Most tears and creases are straightforward to repair digitally. Scan the print flat, with the pieces in their correct place.
Curled and cracked photographs
Old prints curl as the paper and the emulsion age at different rates. Forcing them flat can crack the surface. Leave them as they are, and scan them with care. If cracks have already formed, avoid bending the print further. Restoration works from the scan, so the original does not need to be perfect.
Prints stuck to glass or to each other
Do not peel. A photograph stuck to the glass of a frame has probably bonded with it. Leave the frame as it is, photograph it, and ask for advice. A scan through the glass is sometimes possible, and a conservator can remove a print safely if the picture is important.
Faded photographs
Fading cannot be reversed on the print itself, but it can be corrected in a scan. Stop further fading by keeping the print out of the light. A faded photograph is not a lost one. Colour and contrast can be restored from the scan.
What to do next
Once the photograph is dry, flat and safe, scan it. A careful scan records the picture exactly as it is, and the repair is done on the file. You can read about this in what can and cannot be restored, and see the results in the restoration portfolio. To protect everything else you own, read how to preserve a family photo archive.
Related guides
To send damaged photographs by post, read how to mail old photos and film safely. To prepare a whole collection, see how to prepare photos and film for scanning.
Send me a photo of the damage
Take a clear phone photo of the damaged print, in daylight, and send it to me. I tell you what I can do, what I cannot, and what it costs. You can request a restoration quote here, and you can call, email or message me using the details at the bottom of this page.