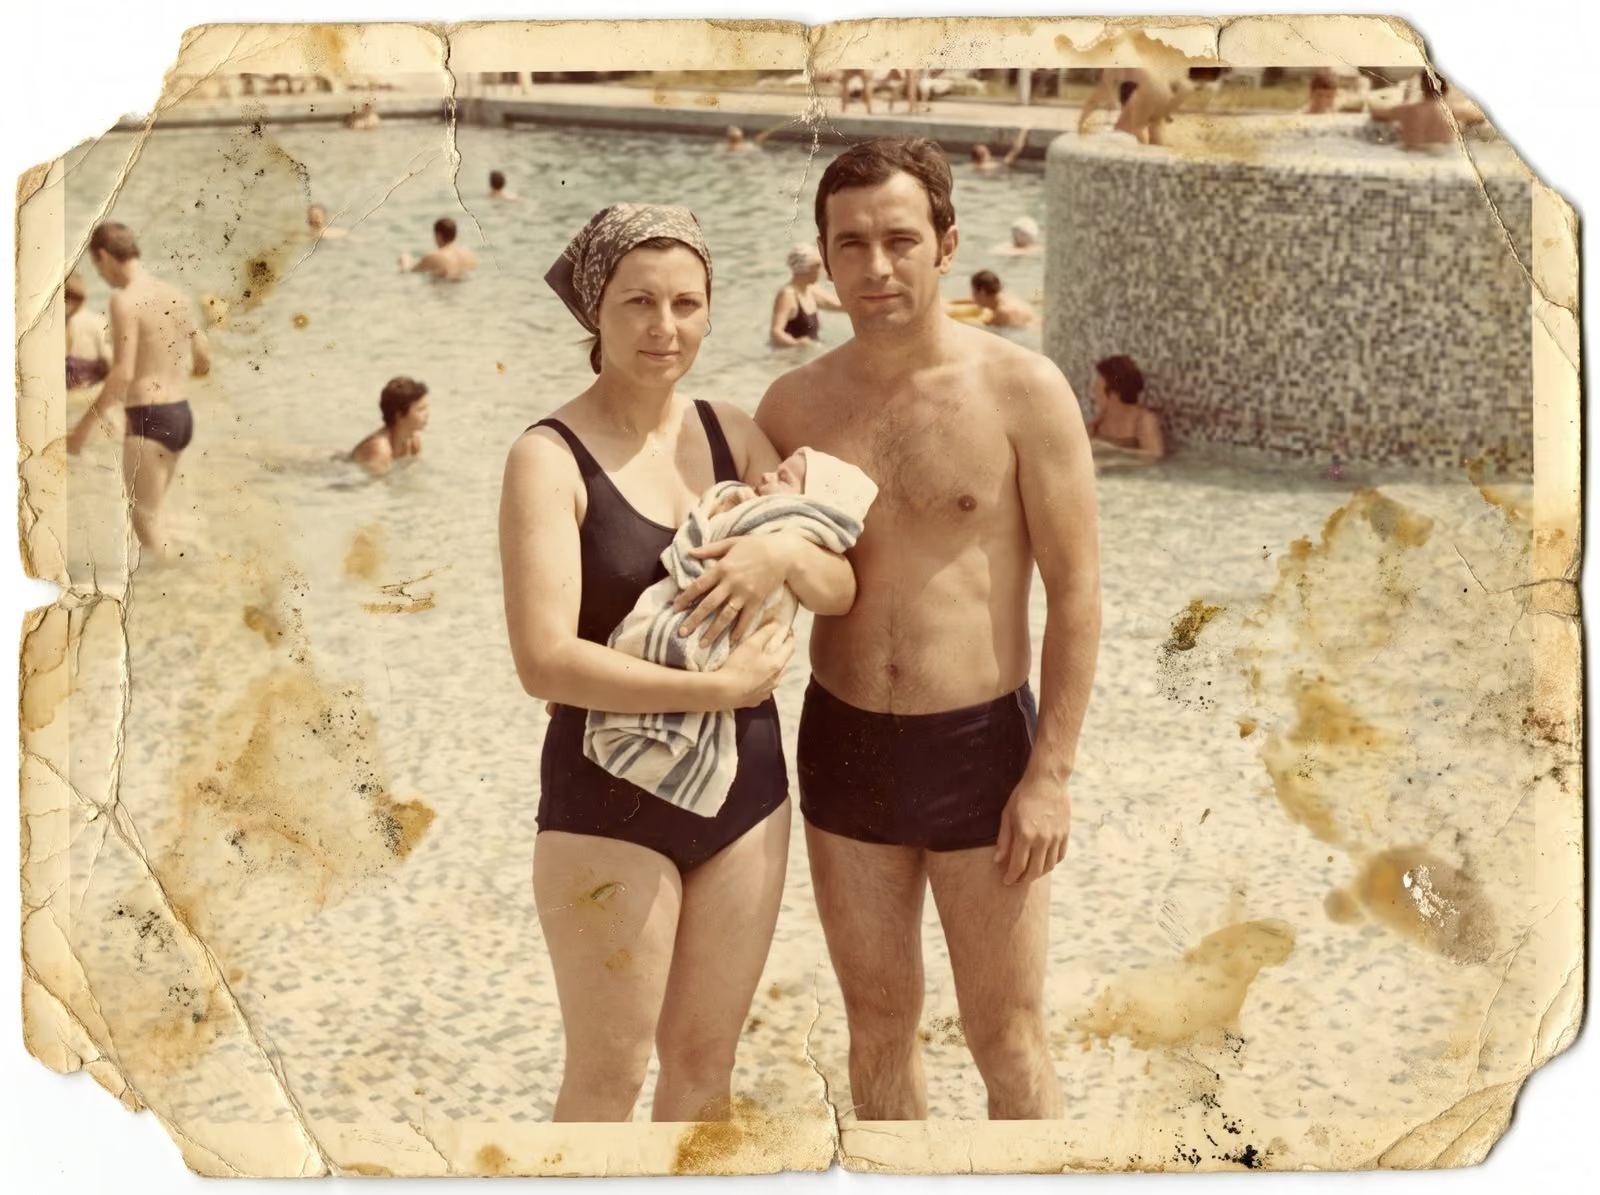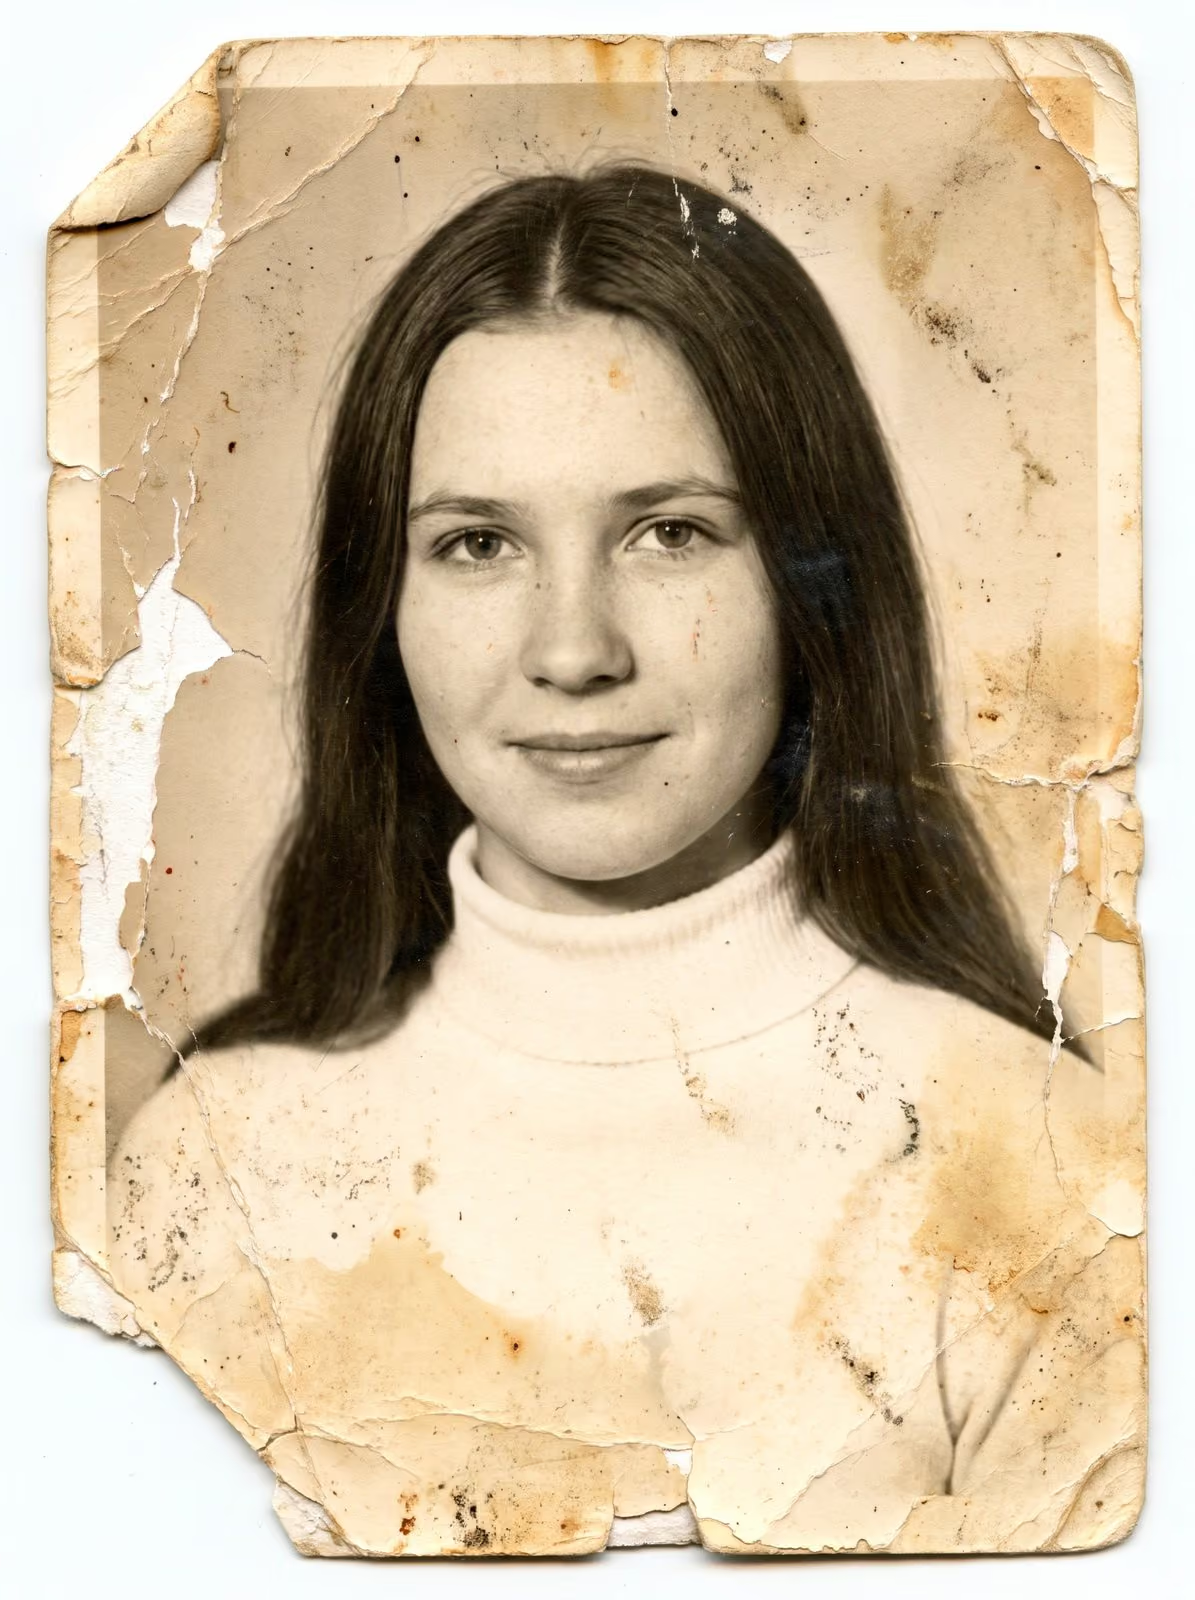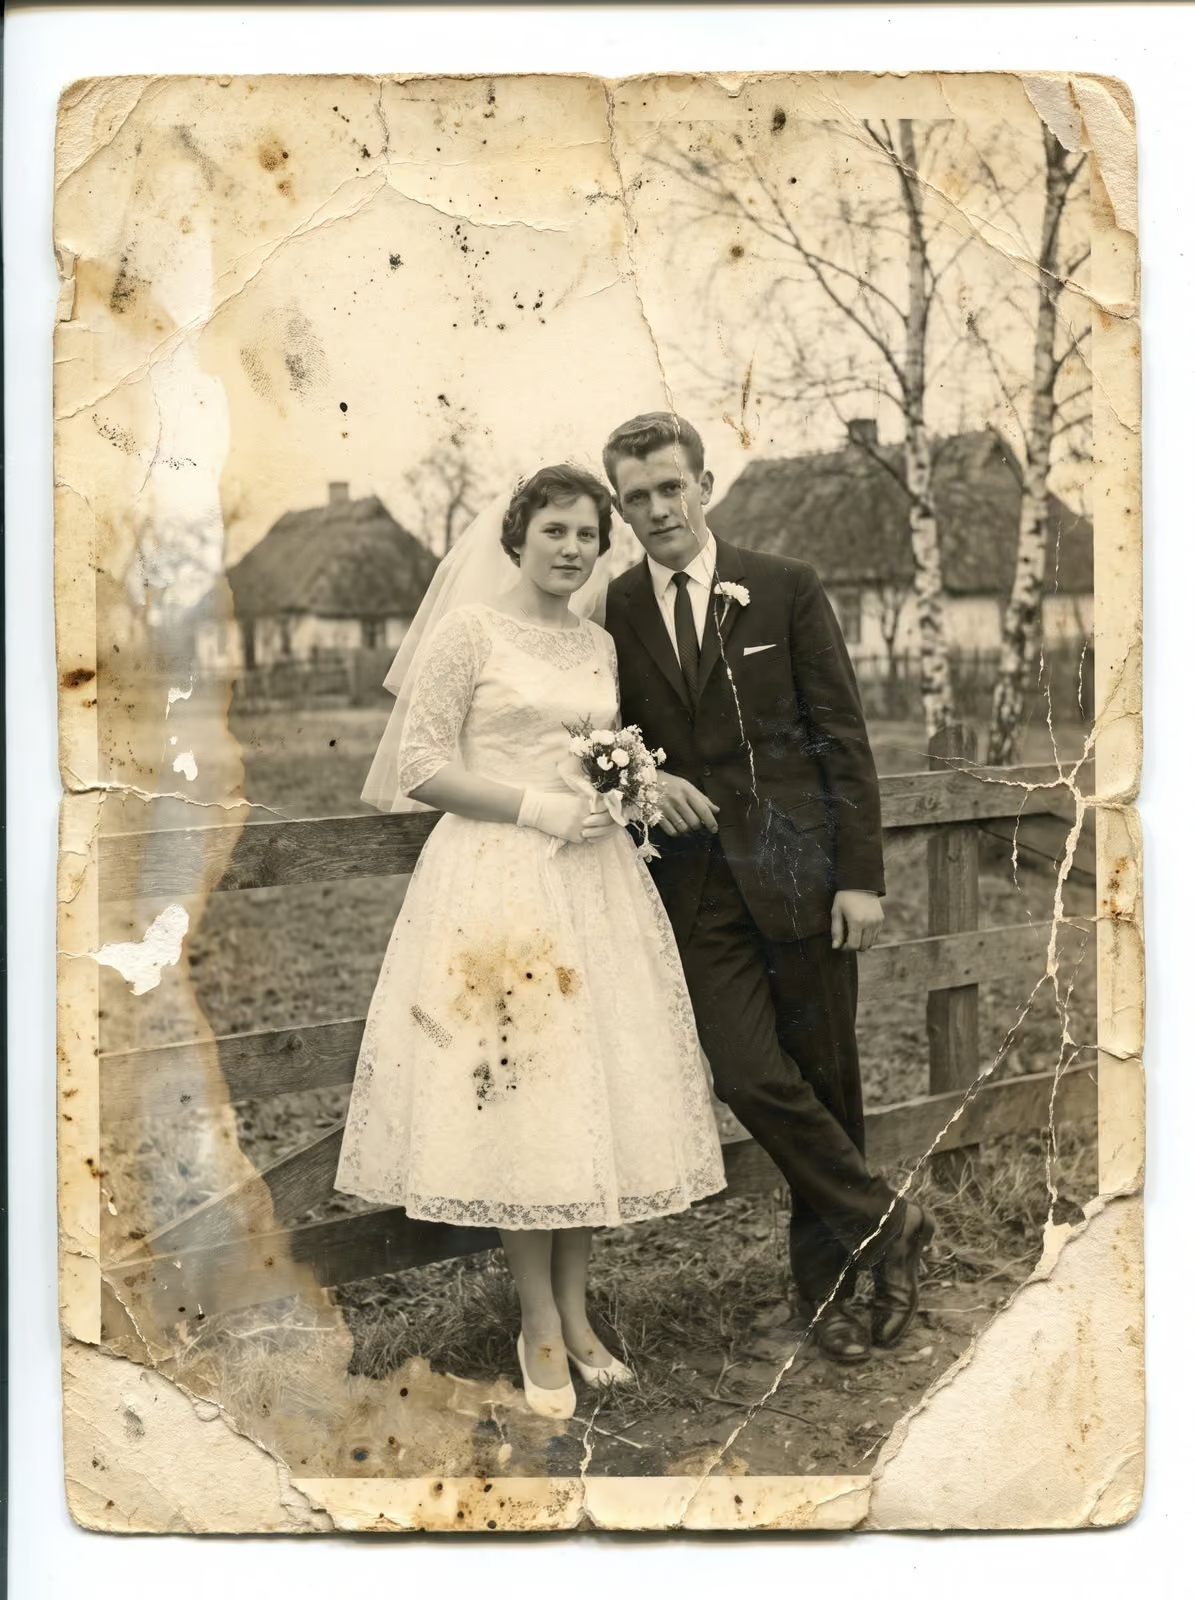
An old photo album is more than a set of pictures. The order of the pages, the captions and even the choice of what was left out tell the story of a family. That makes albums harder to scan than loose prints. This guide explains the common types, the safe methods and the mistakes to avoid.
Know what kind of album you have
- Slip-in albums. Each photograph sits in a pocket. These are the easiest, because the prints can usually be taken out and put back.
- Corner mounts. Photographs are held by paper or plastic corners on black or coloured pages. They lift out gently, but the pages themselves can be brittle.
- Self-adhesive or “magnetic” albums. The pages have a sticky surface under a plastic film. Over time the adhesive bonds with the print, and pulling the picture off tears it. Do not peel.
- Scrapbooks. Pictures, tickets, cards and notes are glued to the pages. The page is the artefact, so scan the whole page.
- Bound photographs. Some albums are bound with the photographs as part of the book, which cannot be taken apart.
Scan the pages, not only the pictures
For anything that is glued, sticky or bound, scan the whole page. You keep the captions, the layout and the notes, and nothing is pulled off. Individual pictures can be cropped from the page scan later. A page scanned at a high resolution holds enough detail to crop good pictures from it, and restoration can be done on the cropped copy.
Why you should not peel
A photograph that has bonded with a magnetic page can tear, lose its surface or leave its image on the sticky layer. Even a gentle lift can crack the print. If a photograph does not come away freely, stop. The risk is permanent, and the cost of a careful scan of the page is small by comparison.
Handle the book gently
Support the album on a clean table, and open it no wider than it wants to go. Pressing a thick, bound album flat on a scanner can break the spine and crack the pages. A flatbed scanner is not suitable for a book that will not lie flat. A careful photographic copy, taken with the book supported at a natural angle and with even light, is the better method for such pages. A professional can tell you which approach fits your album.
Capture the captions
Handwritten captions are valuable. Scan the whole page at a resolution that makes the writing easy to read, and keep the page order. Name the files by album and page number, for example album-2-page-014. Write a short list of what each album is, where it came from and who owns it.
Use soft light and clean hands
Dust, fingerprints and skin oil damage prints. Wash and dry your hands first, and wear clean cotton gloves only if they do not snag. Keep food and drink away. Work in a room with steady, soft light, and avoid direct sun on the pages.
What about the glue and the plastic?
Old album materials can give off fumes and stain prints. Do not wipe a sticky page with water or solvents. If the plastic film is brittle and flakes, leave it. After scanning, put the album in a new archival box if you can, keeping it flat and cool.
When to ask for help
Ask for help when the album is valuable, fragile or one of a kind, when the pages stick, when the binding is weak or when you plan to restore the pictures afterwards. A careful scan of an album is the best protection for it, and the result lets everyone in the family see it without handling the original again.
Related guides
To prepare a whole collection, read how to prepare photos and film for scanning. To protect the files, see how to organise scanned photos. If the pages are damaged, read first aid for damaged photographs.
Bring me the album
I scan albums page by page in Smoky Lake, keep the order and the captions, and return the album to you with the files. Tell me what type of album you have and how many pages it holds. I reply with a plan, a quote and a turnaround. You can request a scanning quote here, read about print scanning, and call, email or message me using the details at the bottom of this page.